

Once you master and combine these elements in practice, you will understand that polishing is a harmonious craft, but it does not always allow you to relax.
In this article we will introduce:
• The features and differences of polishing machines;
• Machine handling and control;
• The importance of pressure and movement speed;
• Safety principles;
• Types of light sources and their importance
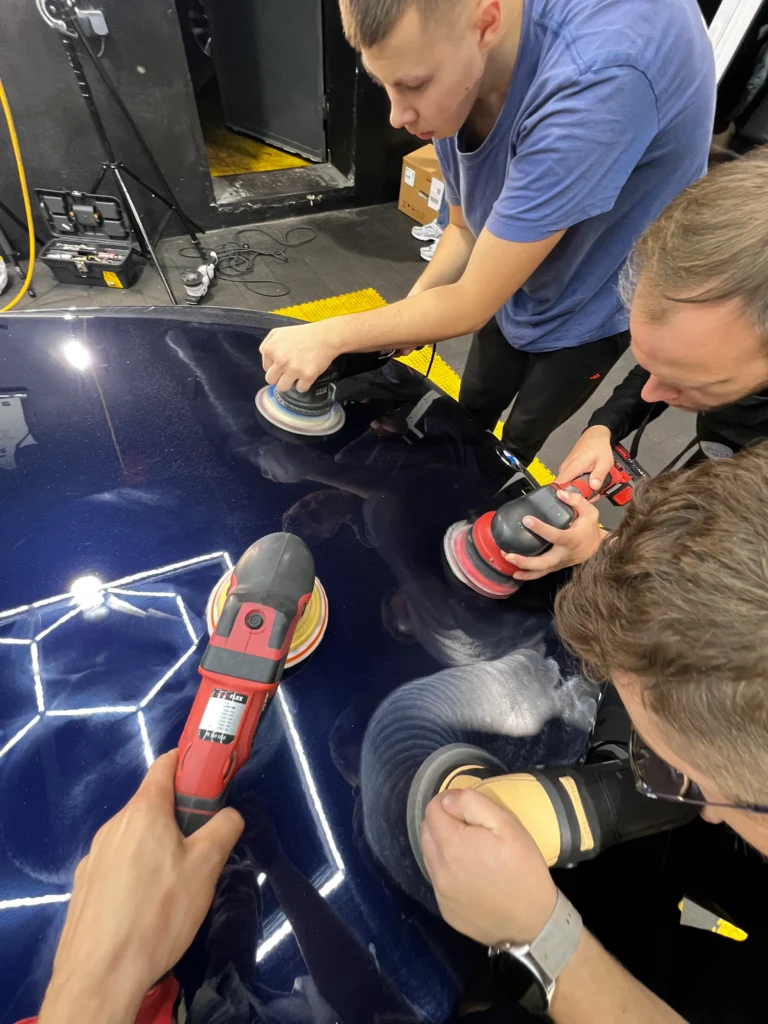
Types of Polishing Machines and Their Operating Principles
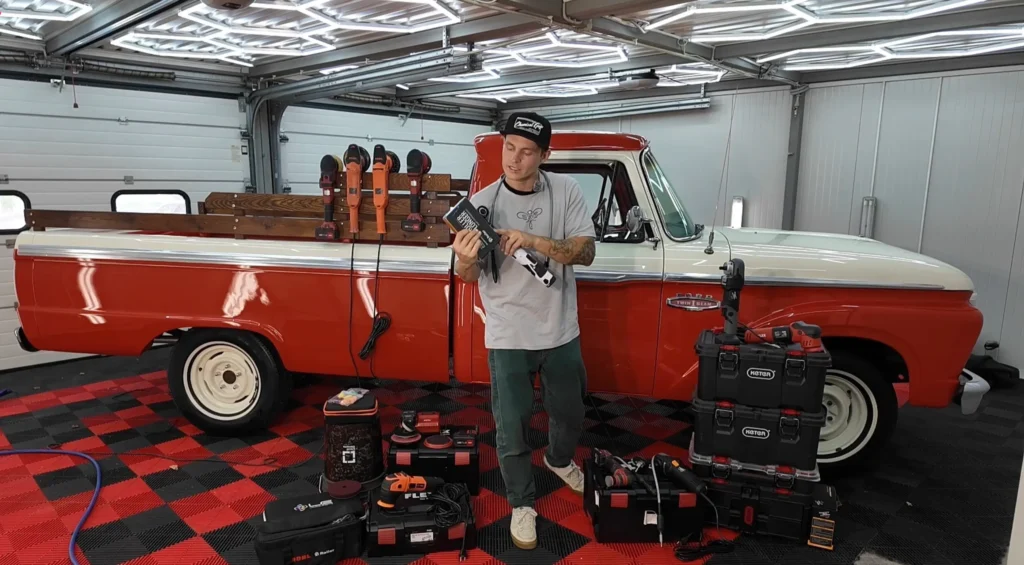
There are two categories: Rotary and Dual Action (DA)
Rotary polishing machine – rotates in one constant direction around its axis. It is a precise machine, easier to adapt for hard-to-reach areas, but it requires more concentration and stable control while working.
During constant circular rotation, an incorrectly tilted polishing pad can cause damage to surrounding sensitive surfaces such as:
• Plastic (especially if unpainted);
• Rubber and rubber surfaces;
• Sharp edges;
• Body lines and corners
Important: before polishing, mask all these surfaces with masking tape.
When polishing with a rotary machine, it is very important to frequently check the surface temperature using the back of your fingers – you will feel more quickly if the surface is overheating.
Dual Action polishing machine – performs a double movement. First, it moves in an “orbit” – shifting sideways, and only then inertia spins the backing plate into rotation. For this reason, it is not always convenient to work on more curved areas, because the pad begins to work more on its edges rather than with the full surface of the polishing pad, which may cause it to stop rotating by inertia. In such situations, it is useful to have a smaller diameter, for example, a 75mm orbit Dual-Action polishing machine.

Dual action machines can have different orbit sizes:
• 3mm;
• 8mm;
• 12mm;
• 15mm;
• 21mm
It is important to mention that there are also hybrid polishing machines. They are smaller than usual. They often include: 3mm; 12mm dual action polishing/sanding heads, as well as rotary attachments. There can also be a cable-driven attachment when polishing is required under handles, in grilles, or in the interior.
Main features of dual action polishing machines:
• Easier to control;
• Lower risk of overheating the surface;
• Perfect for correction, hologram removal, and finishing.
Polishing Direction, Angle and Safety
Rotary machine movement – usually tilted about 20–40 degrees for more aggressive scratch removal. The cross-hatch method – vertical and horizontal – is less commonly applied with this machine, but it is certainly not excluded.
Do not tilt or press too much, as you may create a risk of a sudden temperature spike. An overheated surface may be damaged down to the paint or even the primer.
Working flat reduces the number of holograms, but to fully remove them and achieve a perfect reflection, it is recommended to perform a finishing stage with a Dual-Action polishing machine.
Dual-Action machine movement – the Cross-hatch method – vertical and horizontal – is used more often. With this tool, polishing becomes less stressful.
Work is almost always done flat with the pad, except in cases where a slight tilt is used to achieve more aggressive correction in a specific area.
It is worth mentioning:
This polishing system does not heat the surface as intensely, therefore working with slower movements is effective, does not require much effort to control the machine, and allows you to work a bit more calmly.
Work Areas and Systematic Polishing
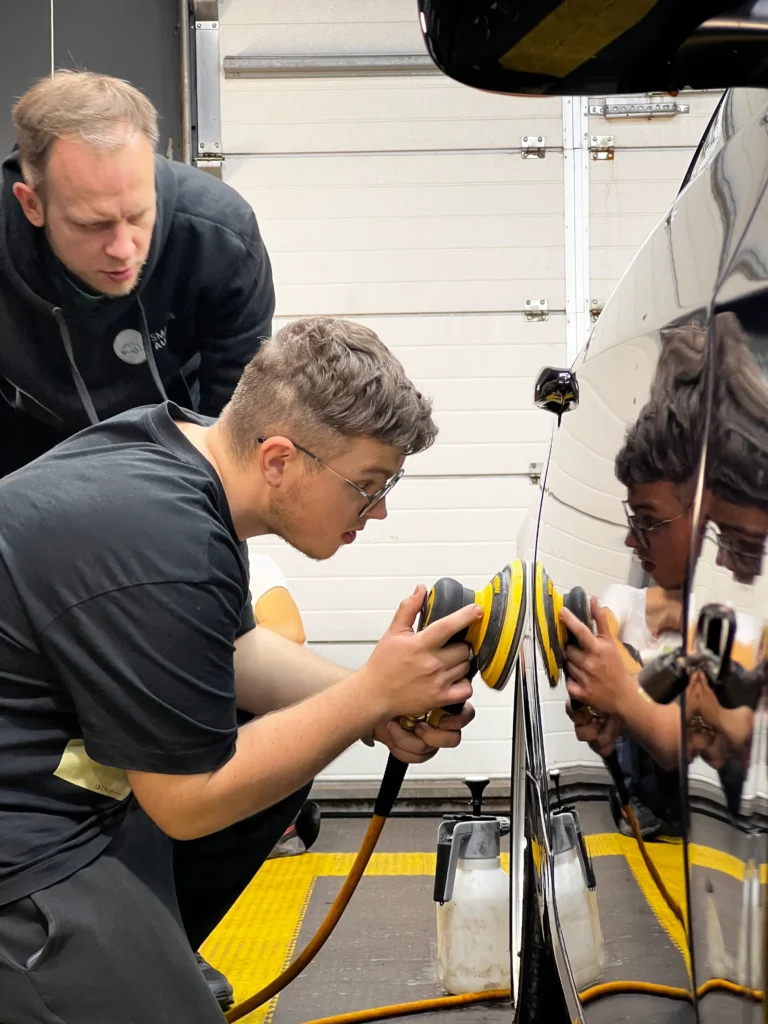
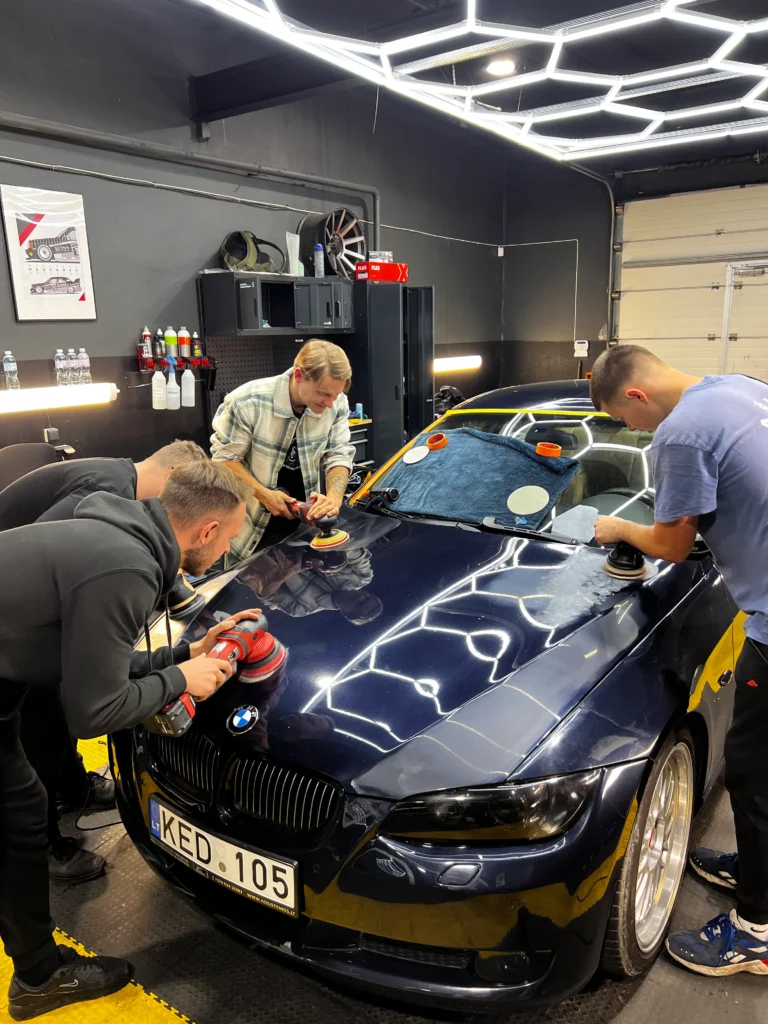
When polishing, it is very important not to make chaotic movements across the entire panel. Divide the surface into small, clear zones, for example 40 × 40 cm or 50 × 50 cm areas.
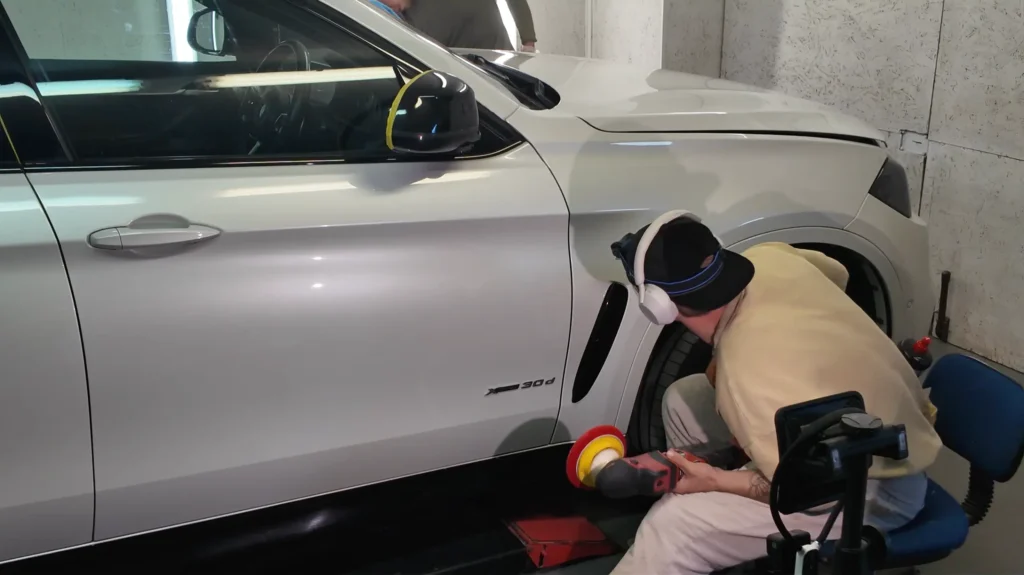
In areas such as the rear quarter pillar, which is often long and extends toward the front fender, it is advisable to choose a more cautious polishing approach or a smaller polishing machine. Check more frequently by wiping off polishing compound residue with a clean towel to see the actual working area.
If working with a dual action machine, due to the orbital movement it may be more difficult to reach the upper or lower part of the pillar, as roof rails above or rubber-covered door trims below may interfere.
Carefully evaluate the shape of the area you want to process, mask vulnerable surfaces, and choose the appropriate polishing machine, pad size, and pad aggressiveness.
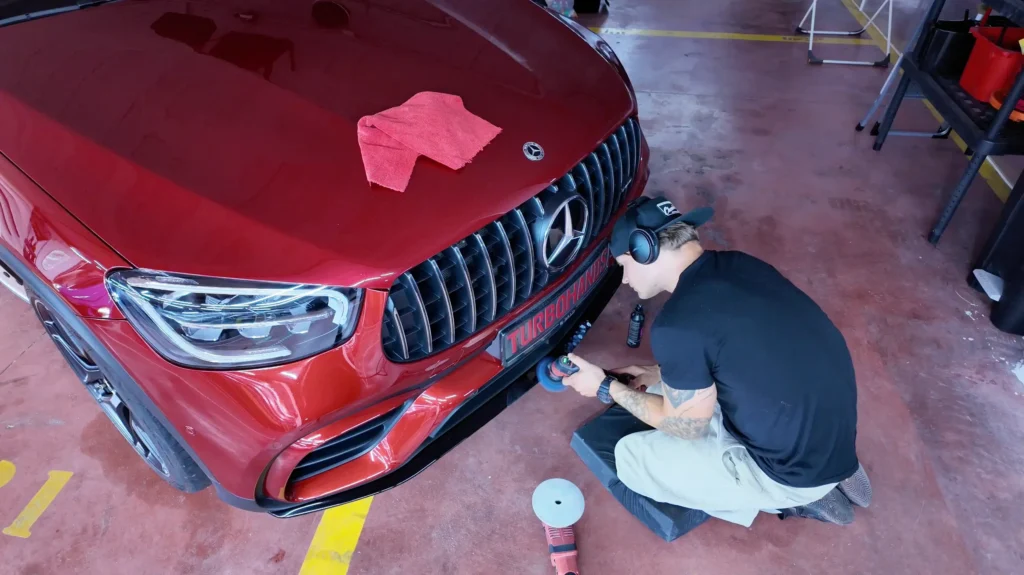
Pressure While Polishing
It must be controlled. At the beginning of polishing, distribute the product without pressure, and only later add a little weight with your hand. There is no need to overdo it – “The pad with the compound works independently, and we only assist.”
However, during the finishing stage, machine pressure must be minimal or sometimes none at all. This is how the best result is achieved.
Exception: There are vehicles with very hard clear coats that do not respond easily even to aggressive polishing. Such hardness is more often found in higher-class vehicles.
The Importance of Lighting in Polishing
By clearly seeing existing defects, we can deal with them more effectively. Good, high-quality lights sometimes act as a true inspection of our own work.
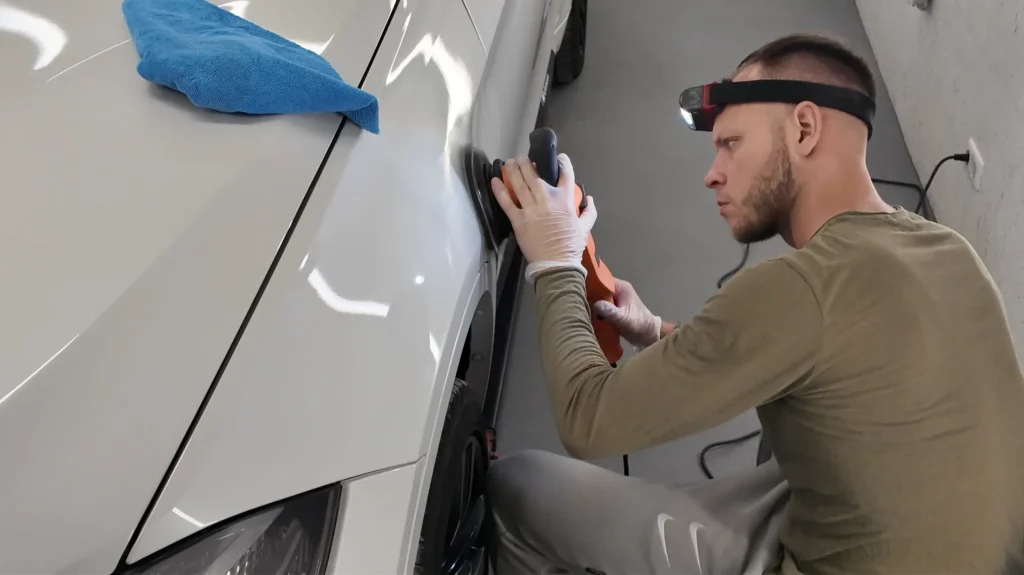
Types of lighting:
• Head-mounted lamps;
• Portable, standing, magnetic, hanging lights;
• Tripod-mounted lamps.
• Hexagon Lights
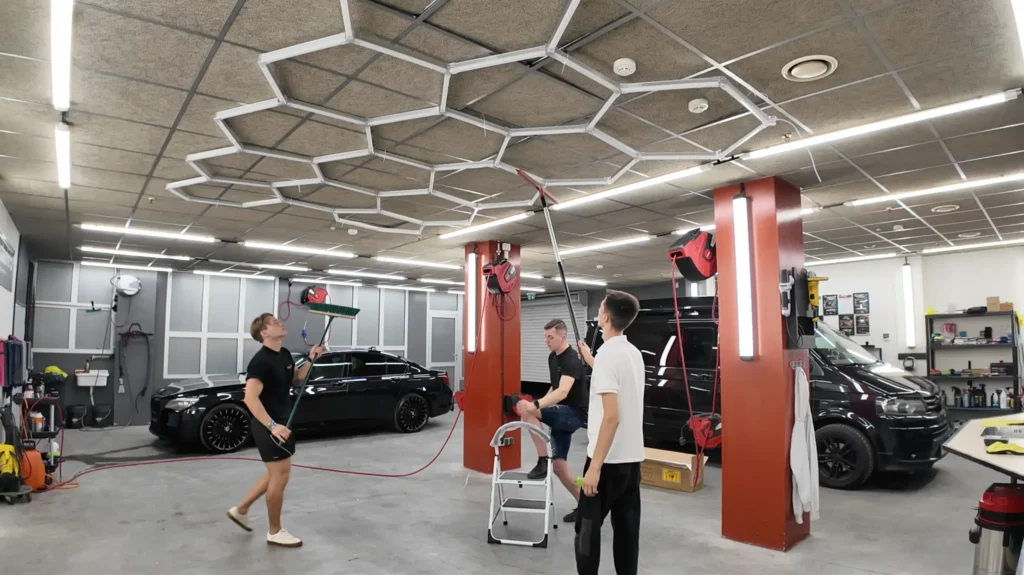
General ambient lighting in the workspace is also very important. Construction lights can be used, but pay attention to whether they are incandescent type, as they may cause a fire hazard. If you approach this craft professionally and want to create content, non-detailing LED lighting can often cause flickering when filming.
Construction LED lights in polishing – are they suitable?
When polishing a car, light is one of the most important tools. If the lighting is poor, you will not see the true condition of the paint, scratches, or holograms.
Construction lights are often used because they are cheaper, but they have disadvantages – they shine too widely – fine scratches remain unnoticed, the color is often unnatural and distorts the shade, excessively bright light can “wash out” fine defect lines. From photos, the results may appear very good. But after taking out a more professional spotlight, which detailers and painters use to inspect results – I noticed remaining holograms and haze – also known as “fade.”
Do you know what holograms and haze are?
Therefore, for detailing it is better to choose specialized LED lamps:
• With high CRI (to show true colors);
• With adjustable color temperature (from warm to cool) to better see defects on different paint shades;
• With a narrower beam to see results more precisely.
Summary: a construction lamp is better than nothing! – suitable for general garage lighting, but for serious polishing you need proper detailing lights.
Conclusion:
Quality polishing is:
• The correct machine selection;
• Directional, systematic work;
• Controlled pressure;
• Constant surface temperature monitoring;
• High-quality lighting has a significant impact
By following these principles, it is possible to achieve deep color saturation, perfect gloss, a scratch-free surface, and maximum safety for the clear coat layer.